And here are the full step-by-step details:
- Open the reservation arriving today, either by reservation number or from the planning.
- Go to the Reservation → Guests tab.
- Check that the guest count is correct. To add a guest, click the three dots, increase the number of guests (up to the room’s maximum capacity), and save.
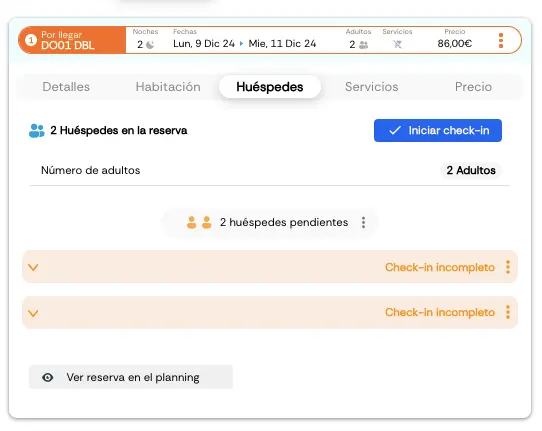
- Click “Start check-in” and then “Begin check-in”.
- Pick the customer segmentation that fits best.
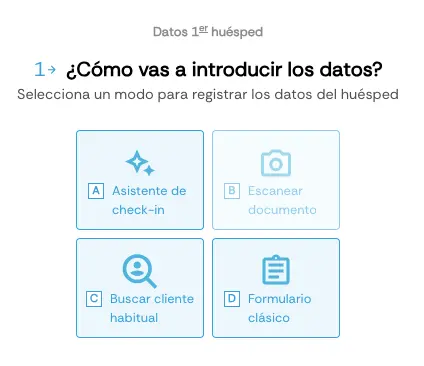
- Next, enter the guest’s details. You have several options:
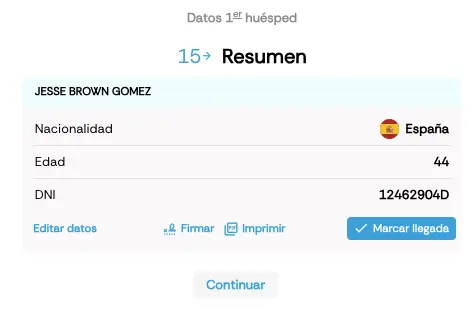
- Document-issuing country.
- Document type.
- Document number.
- Full name.
- Date of birth.
- Nationality.
- Contact details (email, phone, etc.).
- Full address.
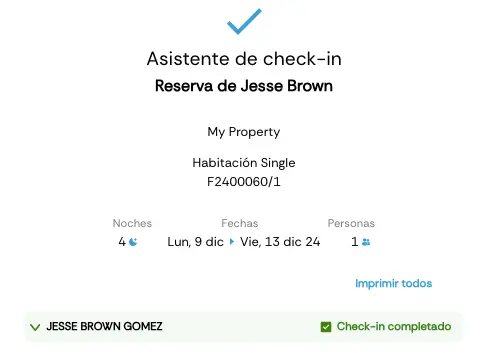
See here how to check out a guest in Roomdoo.